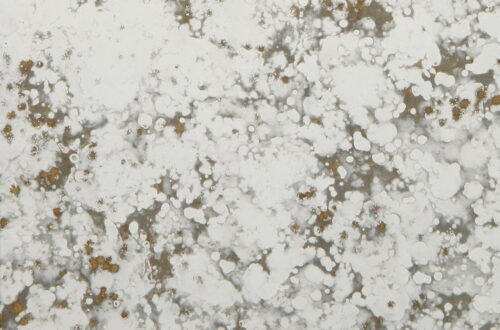

Standard mirror is a float glass substrate with a uniform silver coating, a protective copper layer (or copper-free equivalent), and one or more coats of backing paint. Antique mirror starts the same way, but the reflective layer is deliberately disrupted to produce the aged, softly clouded appearance associated with historic mirrors.
There are two broad production approaches:
- Chemical antiquing. The silvering is selectively removed or altered with etchants and chemical treatments, producing organic mottling, foxing, and cloudy patches. Results are naturally irregular and difficult to repeat exactly.
- Mechanical or applied antiquing. Patterns are produced through abrasion, masking, or controlled removal of the reflective layer. This gives more control over density and scale, which matters when a design has to be repeatable across large runs.
Either way, the antiquing is a defect-by-design in the reflective coating, which is why edge sealing, backing integrity, and installation chemistry deserve extra scrutiny.
Step 1: Selecting the Finish
Finish selection is where specifications most often go wrong, usually because a small sample is approved without understanding how it will read at scale.
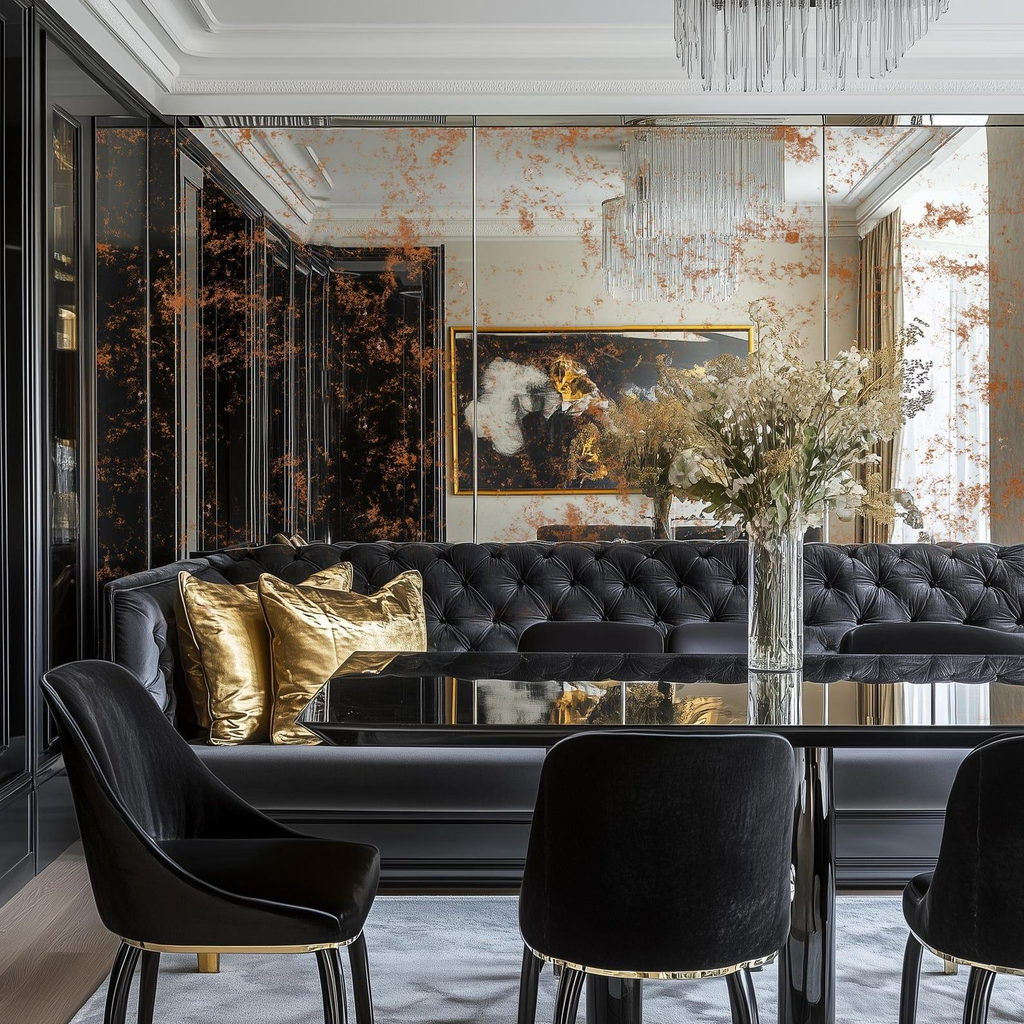
Pattern density. Light antiquing leaves the mirror largely reflective with soft edge clouding. Medium and heavy antiquing reduce reflectivity substantially and read more as a textured surface than a mirror. A heavy finish can behave like a decorative wall cladding that happens to reflect.
Tint and tone. Clear, gray, bronze, and gold-toned substrates or backings change the warmth of reflected light significantly. Gray reads cooler and more contemporary, while bronze and gold read warmer and more traditional. Evaluate tint under the actual lighting color temperature of the space.
Pattern scale and direction. Large-format panels with a pronounced pattern need a plan for where patterns meet at seams. Specify whether panels should be pattern-matched sequentially, randomly distributed, or oriented in a consistent direction.
Reflectivity. Ask the fabricator for reflectance expectations on the selected finish. A space intended to feel bright and expanded may disappoint with a heavy antique, while a space meant to feel moody will not benefit from a light one.
Samples and mockups. Treat a 12-inch sample as an indication of character, not a promise of uniformity. For larger projects, approve a full-size mockup panel, mounted vertically and lit the way the finished space will be lit, and document it as the acceptance reference.
Step 2: Substrate and Thickness
Most custom antique mirror is fabricated on annealed float glass, commonly 1/8 in. (3 mm), 3/16 in. (5 mm), or 1/4 in. (6 mm). Consider the following:
- Flatness and distortion. Thinner glass is more prone to visible waviness when adhered to an imperfect wall. 1/4 in. glass generally gives a more forgiving, flatter reflection on large panels.
- Low-iron glass. Standard float glass has a slight green cast that becomes noticeable at edges and in clear-toned finishes. Low-iron substrates give a cleaner, more neutral reflection and are worth considering where color fidelity matters.
- Heat treatment. Silvered and antiqued coatings are not suited to the high temperatures of tempering after coating, and tempering before silvering introduces roller wave and flatness concerns. For most projects, safety compliance is handled with backing or lamination rather than tempering. Confirm the approach with your fabricator early.
Step 3: Safety Glazing and Code Considerations
Mirrors installed in hazardous locations (near doors, at low heights, adjacent to tubs or showers, in stairway areas) are subject to safety glazing requirements under the International Building Code and applicable local amendments, which in the New York and New Jersey markets means checking the governing code edition for the specific jurisdiction.
Key points for specifiers:
- Safety glazing is generally evaluated under ANSI Z97.1 and 16 CFR 1201. Verify which standard your jurisdiction and project type require.
- Mirror fabricators commonly meet safety requirements using an adhered safety backing film or by laminating the mirror. Both approaches must be specified explicitly, and the backing must be compatible with the antiqued surface and with the intended adhesive.
- Mirror products are typically manufactured to ASTM C1503 (silvered flat glass mirror), and the underlying glass to ASTM C1036. Request documentation rather than assuming it.
- For installations in humid environments or exterior-adjacent areas, confirm the fabricator’s recommendation for edge sealing and backing systems, since moisture is the main cause of mirror degradation.
Always confirm requirements with the authority having jurisdiction. Code interpretation varies, and it is far cheaper to resolve a question before fabrication than after.
Step 4: Fabrication Decisions That Affect Installation
Decisions made at the shop drawing stage determine how smoothly installation goes.
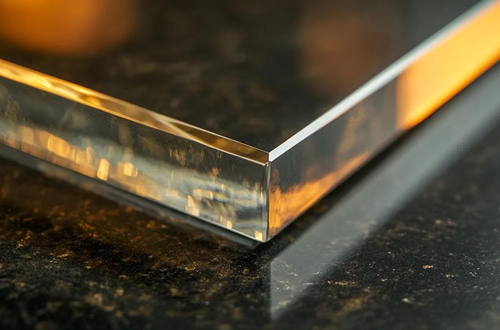
Edgework. Polished flat edges are the most common choice for custom mirror. Beveled edges add depth but make the antiquing at the perimeter more visible and complicate seams. Seamed edges are lower cost, but exposed raw edges should only be used where they will be fully covered by trim or channel.
Edge sealing. The edge is the most vulnerable part of any mirror. Moisture wicking in from the edge attacks the silvering and shows up as dark, creeping “black edge.” Specify edge sealing or protective edge treatment, particularly for panels that will meet a wall at the perimeter without a frame.
Seam and joint design. Decide whether seams are butt-jointed with a tight gap, spaced with a defined reveal, or concealed in a frame or trim. Tight butt joints on antiqued mirror will expose pattern discontinuities, so reveals or trims are often more forgiving.
Cutouts and penetrations. Outlets, switch plates, and sconces require precise cutouts. Confirm locations on site before fabrication, since antiqued mirror cannot be reworked in the field the way drywall can.
Panel size and handling. Large panels are harder to move through elevators, stairwells, and corridors. Coordinate maximum panel dimensions and delivery paths with the general contractor early, and consider splitting large elevations into panels that can be handled by a standard crew.
Lot consistency. Where a project spans multiple production runs, request that panels for a single continuous elevation be produced in the same batch to limit visual variation.

Step 5: Installation Best Practices
Installation is where well-fabricated mirror is most often compromised.
Substrate preparation. The wall must be flat, dry, clean, and sound. Mirror will telegraph every irregularity, so plan to correct out-of-tolerance walls before mounting. For new drywall, confirm the surface is fully cured and primed; moisture trapped behind mirror leads to long-term failure.
Adhesive compatibility. This is the single most important chemistry issue. Many general-purpose construction adhesives contain solvents that attack mirror backing paint and the silvering beneath it. Use only adhesives explicitly rated as mirror-safe, and confirm compatibility with the fabricator’s backing system. Apply in the manufacturer’s recommended pattern (typically vertical beads or spots rather than a continuous perimeter bead) so the back of the mirror can vent.
Mechanical support. Adhesive alone is rarely sufficient for heavy or large panels. Use J-channels, bottom support ledges, clips, or other mechanical supports as specified, and never rely on adhesive for permanent sustained load.
Ventilation and moisture. Leave allowance for air circulation behind the panel where the detail permits. Avoid sealing a mirror hard against a damp substrate, and avoid direct contact with water sources.
Setting and alignment. Dry-fit and verify layout before applying adhesive. Use spacers to maintain consistent reveals, and check pattern alignment with each panel as it goes up, not at the end.
Handling and protection. Use suction cups rated for the weight, handle panels vertically, and keep the finished mirror surface protected until the final clean. Be mindful that the antiqued zone is a thinned reflective layer, which is more vulnerable to scratching than standard mirror.
Cleaning. Clean with a soft cloth and a glass cleaner applied to the cloth, not sprayed directly at the mirror, so liquid does not run into the edges. Avoid abrasive cleaners and ammonia-heavy products around exposed edges.
Common Pitfalls to Avoid
- Approving a small sample and expecting identical results at 8 ft by 10 ft.
- Using a general-purpose adhesive that eats through the backing.
- Skipping a safety glazing review for mirrors near doors, tubs, or at low heights.
- Leaving edges unsealed or in contact with moisture.
- Failing to pattern-match panels or document expectations in the submittal.
- Ordering without verifying field dimensions and cutout locations.
A Practical Specification Checklist
Before releasing a custom antique mirror package for fabrication, confirm that your documents define:
- Finish name, antiquing density, and tint or backing tone, with an approved physical mockup as the reference
- Glass type, thickness, and whether low-iron is required
- Safety glazing method and applicable standards
- Edgework type and edge sealing requirements
- Panel dimensions, seam layout, and pattern-matching rules
- Cutouts and penetrations with verified dimensions
- Approved adhesive and mechanical support system
- Handling, delivery, and site protection requirements
Working with a Fabricator Early
Custom antique mirror rewards early collaboration. A fabricator who is involved at the design stage can advise on realistic finish variation, panel sizing, safety compliance, and details that will survive the real-world conditions. For projects across New York and New Jersey, working with a local fabricator also simplifies mockup reviews, site measurements, and coordination with glazing crews.