
Glass hole drilling is one of those processes that looks simple from the outside — spin a bit, make a hole — but is actually one of the more technically demanding operations in glass fabrication. A single misjudged hole can turn a $2,000 shower panel into scrap in seconds. Done correctly, though, drilled glass opens up design possibilities that solid panels simply can’t offer: hardware-free hinges, recessed hooks, cable railings, standoff-mounted signage, and countless architectural details that read as effortless.
This guide breaks down how glass hole drilling actually works, where it’s used, and what to watch for — whether you’re the one running the drill press or the one specifying the glass on a project.
Why Glass Gets Drilled in the First Place
Holes in glass exist to accommodate hardware and connections that can’t be achieved with adhesives or clamps alone. Common applications include:
- Shower doors and enclosures — hinge points, handle holes, and header clips
- Glass railings and balustrades — standoff mounting for cable or rod systems
- Storefronts and entry systems — pull handles and patch fittings
- Signage and displays — standoff bolts for a floating, hardware-visible look
- Furniture and tabletops — cable pass-throughs, grommets, and mounting points
- Curtain walls and façades — point-fixed glazing systems using spider fittings
For architects and interior designers, drilled holes are often the difference between a glass element that looks “attached” and one that looks like it’s floating in space — a detail clients notice even if they can’t articulate why.
How Glass Hole Drilling Actually Works
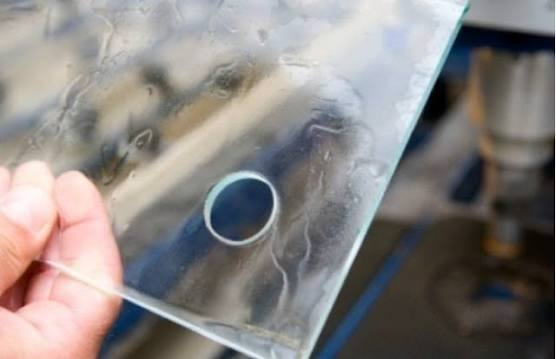
Unlike drilling wood or metal, you can’t just chuck a twist bit into glass and go. Glass is hard but brittle, meaning it resists scratching but fractures easily under concentrated stress. The process relies on abrasion, not cutting.
The core method:
- Diamond core drill bits — Hollow, tube-shaped bits with a diamond-coated edge grind through the glass via rotation, rather than “boring” through it like a twist drill would.
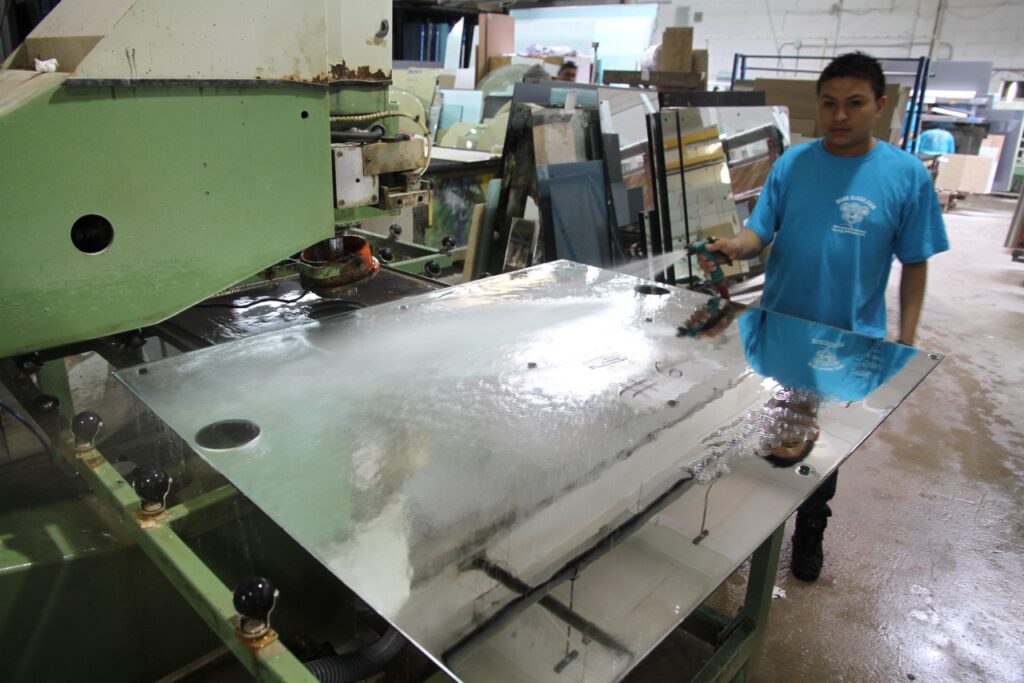
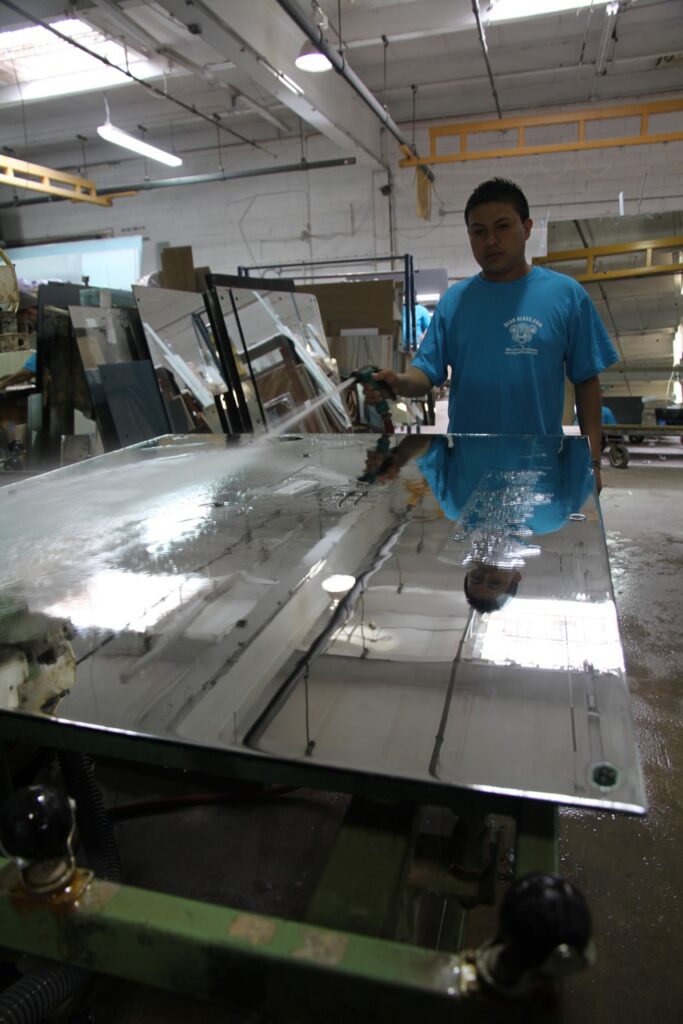
- Constant water cooling — Friction generates heat fast, and heat is glass’s enemy. A continuous water feed (or a drilling rig submerged in a water bath) keeps the bit and the glass cool, reduces micro-cracking, and flushes away glass slurry.
- Low-to-moderate speed, controlled pressure — Counterintuitively, going too fast or pushing too hard causes more breakage, not less. Fabricators let the diamond bit do the work.
- Drilling from both sides for thicker glass — On glass thicker than roughly 6mm (¼”), it’s standard practice to drill partway through from one side, then flip the piece and finish from the other. This prevents the characteristic “blowout” or chipping that occurs when a bit exits the back face.
- Edge distance and hole placement rules — Holes need adequate clearance from the glass edge (generally at least 2x the glass thickness, and often more) to avoid introducing stress risers that can cause cracking, especially once the glass is tempered.
Tempering: The Detail That Changes Everything
This is the single most important thing for anyone specifying or ordering drilled glass to understand: glass must be drilled before it’s tempered, never after.
Tempered glass gets its strength from a controlled heating and rapid cooling process that puts the surface into compression and the core into tension. That internal stress is exactly what makes tempered glass 4-5x stronger than annealed glass and causes it to shatter into small, relatively safe pebbles rather than dangerous shards.
Drill into tempered glass — even a small nick near an existing hole — and you disrupt that stress balance. The result is usually immediate, spontaneous, total failure of the panel. There’s no “carefully drilling” your way around this; it’s a hard rule of the material.
What this means practically:
- Any hole locations, sizes, and hardware specs need to be finalized before the glass goes into the tempering oven.
- If a hole is missing, mis-sized, or in the wrong spot after tempering, the panel cannot be modified — it has to be re-fabricated from scratch.
- This makes accurate templating and communication between the designer, fabricator, and installer critical. A CAD drawing or physical template with confirmed hole locations should be locked in before glass goes to production.
A Note on Glass Types
- Annealed glass can technically be drilled after the fact, but it’s still a brittle, unpredictable material without the strength or safety benefits of tempering — rarely a good choice where drilled holes are structural or load-bearing (like railings or door hinges).
- Laminated glass presents its own challenge: each layer must be drilled separately and holes must align precisely, since the interlayer (usually PVB) doesn’t drill the same way the glass does.
- Insulated glass units (IGUs) are essentially never drilled through both panes, since it would compromise the sealed air gap; if a hole is needed, it’s typically only through one lite, or hardware is designed to mount to the frame instead.
Common Hole Types and What They’re For
| Hole Type | Typical Use | Notes |
|---|---|---|
| Straight-through hole | Standoffs, bolts, hinges | Most common; sized to hardware tolerance |
| Countersunk hole | Flush-mounted screws | Beveled edge lets screw head sit flush |
| Counterbored hole | Recessed hardware | Larger shallow bore plus a smaller through-hole |
| Notch or cutout | Door handles, U-channel clearance | Not a “hole” technically, but drilled/routed similarly |
| Oversized clearance hole | Thermal movement allowance | Common in façade and curtain wall systems |
What Can Go Wrong (and How Fabricators Prevent It)
Chipping and blowout — Happens when a bit exits the far side too aggressively. Prevented by drilling from both sides on thicker glass and reducing feed pressure near breakthrough.
Concentric cracking (the “halo” crack) — A ring-shaped crack that radiates from the hole, usually from incorrect bit speed, insufficient cooling, or a bit that’s dull or off-center.
Edge cracks from tight hole placement — Holes drilled too close to an edge or corner concentrate stress and can crack days or weeks after installation, often triggered by thermal expansion or building movement. This is why edge-distance standards aren’t optional — they’re the difference between a hole that lasts decades and one that fails on a hot afternoon.
Misaligned templates — Especially on multi-pane installations (railings, storefronts), a template that’s off by even a few millimeters can throw off an entire run of panels. Reputable fabricators build in verification steps — physical templates, laser measurement, or CNC-programmed drilling — before cutting begins.
What This Means for Each Reader
Glass artisans and fabricators: Precision templating, correct bit selection, and cooling discipline aren’t optional steps to rush through — they’re what separates a clean job from a callback.
Contractors and installers: Confirm hole specs against actual hardware (not just nominal sizes) before glass is ordered. A standoff bolt that’s a hair oversized for its hole is a problem no one can fix on-site.
Architects and interior designers: Build hole locations into your drawings early, and loop in the fabricator before finalizing hardware selections. Point-fixed and standoff details look effortless in a rendering — they require the most upfront coordination in reality.
Homeowners: If you’re getting a shower enclosure, railing, or glass shelving with drilled holes, ask your fabricator whether the glass is tempered and confirm hole locations against a physical template or accurate drawing before production. Changes after tempering typically mean starting over.
The Takeaway
Glass hole drilling sits at an interesting intersection of precision machining and material science — it looks like a simple mechanical operation, but it’s governed by rules that don’t bend: cool the cut, respect edge distances, and never drill tempered glass. Get those fundamentals right, and drilled glass becomes one of the most versatile tools in architectural and interior glazing. Get them wrong, and the glass will let you know immediately.
Have a project that involves drilled or point-fixed glass? Talk to your fabricator early — before tempering, not after — and the process goes a lot smoother for everyone involved.