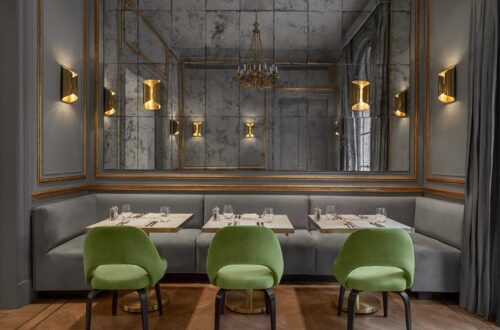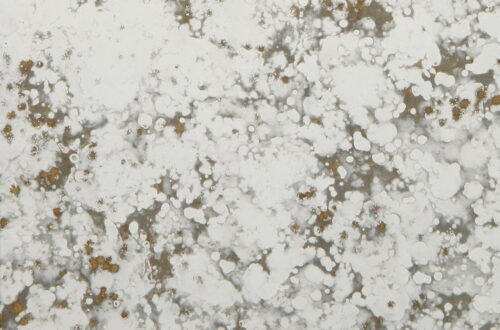

Sandblasted glass patterns must be designed for the space because a pattern is judged in the finished room, not on the panel. Eye level, furniture, circulation, lighting, door hardware, and adjacent finishes all change how the pattern looks and performs. Coordinating the artwork with architectural drawings before fabrication prevents poor privacy, misaligned panels, and awkward cuts at handles and frames.
Key takeaways
- Draw the pattern over plans, elevations, and the reflected ceiling plan, not on a blank rectangle.
- Set the privacy band from standing and seated eye level, roughly 1,200 mm to 1,500 mm (48 to 60 inches) above the finished floor.
- Align pattern breaks with furniture heights and real sightlines.
- Design a run of panels as one continuous composition.
- Locate door handles, pulls, and fittings first, then place the pattern around them.
- Review the finish under the project’s actual daylight and artificial lighting, from both sides.
- Test the glass against real samples of adjacent materials.
Why does a sandblasted glass pattern need to be designed for the whole space?
A sandblasted pattern needs to be designed for the whole space because it sits where people look, walk, work, and expect privacy. Artwork that looks balanced on a proof can fail once it meets furniture, light, hardware, and neighboring materials. Designing from the drawings outward turns the glass into part of the architecture instead of a decorative layer.
Most pattern problems begin when artwork is developed in isolation. A designer receives a panel size, produces a repeat or gradient, and sends it for approval. Nobody checks it against the plan, the elevation, or the reflected ceiling plan.
Before artwork is finalized, overlay the pattern on:
- Floor plans, to see where people approach the glass and what sits behind it.
- Interior elevations, to see how the pattern relates to counters, desks, and adjacent partitions.
- Reflected ceiling plans, to understand where light will strike the glass and from which angle.
- Door and hardware schedules, to locate handles, pulls, closers, patch fittings, and locks.
If glass appears on a shop drawing only as a flat rectangle, the pattern has been sized but not coordinated.
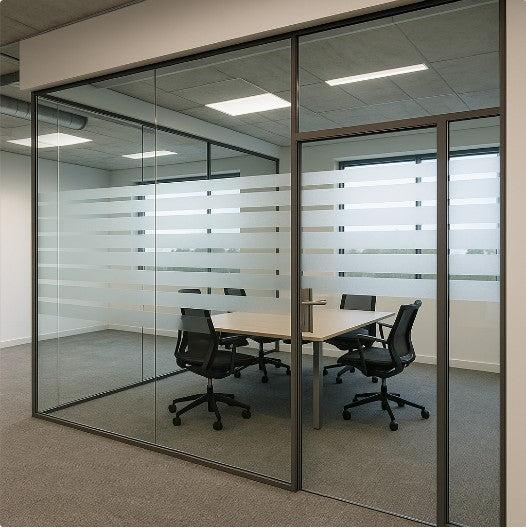
What height should the privacy zone of sandblasted glass be?
The privacy zone should cover the band between standing and seated eye level, roughly 1,200 mm to 1,500 mm (48 to 60 inches) above the finished floor. This is the band people actually look through. Clear or lightly patterned glass above and below it keeps daylight and openness while the solid band provides privacy.
Three decisions follow from that:
- Place the band from real sightlines. Consider seated and standing viewers separately instead of centering the band on the panel by default.
- Read the pattern in motion. Along a corridor, a repeating motif is seen at an oblique angle and can compress visually. Check entry glazing, meeting room fronts, and reception partitions from the approach path, not only head-on.
- Respect safety and visibility requirements. In circulation areas, pattern also helps people recognize a glazed surface. Requirements for manifestation vary by jurisdiction and project, so confirm what applies before setting pattern density.
How do you align sandblasted glass patterns with furniture and interior sightlines?
Align the pattern by overlaying it on the interior layout and checking what sits in front of and behind the glass. Place horizontal pattern breaks on fixed datums such as desk height, credenza tops, or wall rails. Then confirm who needs to see through the glass and who must not.
Practical checks:
- Furniture behind the glass. A clear band that falls just above a desk can expose a workstation that was meant to be screened.
- Fixed datums. A transition between solid and clear zones looks intentional when it relates to a table height, rail, or shelf line, not an arbitrary dimension.
- Sightlines through the glass. In a meeting room, a pattern can let a corridor glance confirm occupancy while blocking views of screens and documents.
- What the glass frames. Dark furniture and bright windows behind translucent glass show up as shadows and glare. Windows opposite the glass can silhouette people in ways the drawing never predicted.
How do you keep a sandblasted pattern consistent across multiple glass panels?
Treat the whole run of panels as a single composition. Develop the artwork across the full elevation, decide where the pattern is continuous and where it intentionally resets, and tie every horizontal line to one consistent reference. Fabricate and approve adjacent panels together as a set.
Consistency problems usually appear in three forms:
| Problem | Typical cause | Fix |
|---|---|---|
| Pattern drift | Repeat does not reset or scale evenly at panel boundaries | Develop artwork across the full elevation, not panel by panel |
| Band misalignment | Panel heights, sills, or floor levels differ along the run | Tie privacy bands and gradients to a single datum |
| Density variation | Differences in masking, abrasive depth, or finishing between panels | Process side-by-side panels together from the same artwork source |
A mismatch between adjacent panels is far more noticeable than a flaw in one isolated pane, so consistency matters most on partition runs, storefronts, and interior glazing walls.
How do you avoid awkward pattern interruptions at door handles and frames?
Locate the hardware first, then place the pattern around it. Handles, pulls, locks, patch fittings, and cutouts need a clear zone where the pattern stops or simplifies. Confirm the visible glass area after frames, stops, and gaskets are accounted for, because the nominal panel size is not what people see.
Rules for these junctions:
- Locate hardware on the drawing before positioning the pattern. Keep decorative detail away from handles so the hardware does not land on a focal element.
- Leave a clear zone around cutouts and fittings. A pattern that runs right up to a hole or notch looks chipped or cluttered.
- Account for frame and gasket overlap. If the pattern extends into the hidden part of the glazing pocket, the visible portion can look cropped.
- Check handle height against the privacy band. Door pulls typically sit about 34 to 48 inches above the floor in accessible design, which often coincides with the privacy zone. The hand, the handle, and the pattern meet at the same height, so this junction deserves its own detail.
- Plan for touch. Sandblasted surfaces show fingerprints more than polished glass, so think carefully before placing heavy texture at the touch point.
How does lighting affect sandblasted glass?
Lighting changes how sandblasted glass looks because the surface scatters light. The same panel can appear bold, faint, luminous, or nearly transparent depending on the light source, its direction, and which side the viewer stands on. Review the finish against the lighting layout and glazing orientation before approving the design.
| Lighting condition | Effect on sandblasted glass |
|---|---|
| Daylight from one side | Lit face looks luminous; the other side can look flat |
| Backlighting | Highlights contrast between frosted and clear areas and exposes transitions |
| Raking or grazing light | Emphasizes surface texture and can make dense areas look uneven |
| Artificial light at night | Privacy can reverse when the lit side is inside and the viewer is outside |
If privacy is a hard requirement, test it in the condition where it is most likely to fail, usually when one side is brightly lit and the other is dark.
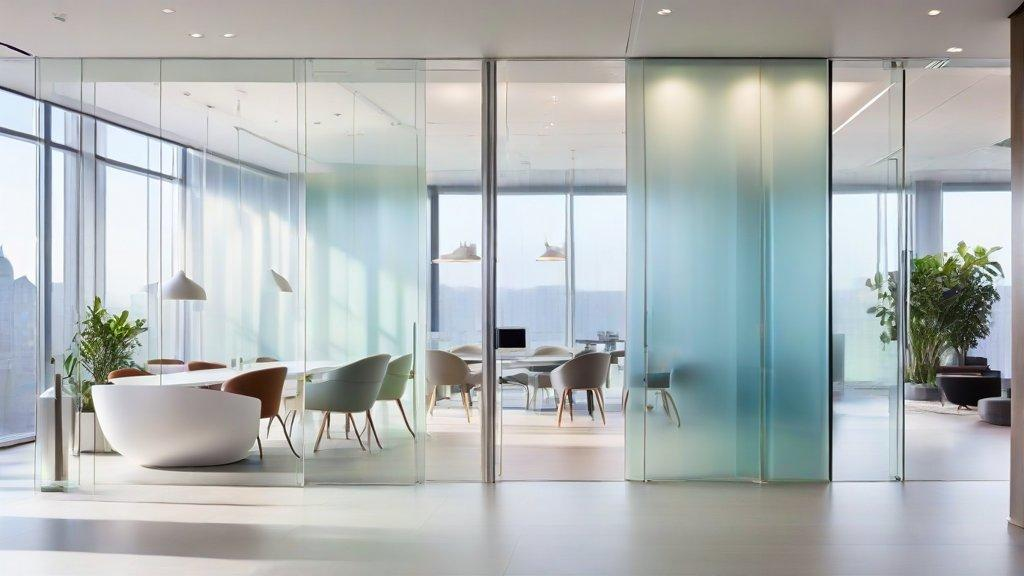
How do you coordinate sandblasted glass with adjacent finishes?
Review the glass alongside the surrounding timber, stone, paint, metal, flooring, and ceiling details, using physical samples. Match the pattern’s scale and rhythm to nearby modules, check tone and contrast against the backdrop, and align pattern lines with framing, reveals, and sill and head locations.
- Scale and rhythm. If a wall panel has a strong vertical module, a conflicting pattern rhythm will feel disconnected. Echo joint lines, reveals, or slat spacing where it makes sense.
- Tone and contrast. Sandblasted glass reads light and soft. Against dark framing it can seem washed out; against a pale wall it can almost disappear.
- Alignment with framing. Pattern lines that relate to mullions, sills, and heads feel built into the architecture. Lines that drift against them look accidental.
- Consistent vocabulary. A controlled set of pattern motifs repeated across reception, meeting rooms, and circulation is more convincing than a different motif in every location.
Pre-sign-off checklist for sandblasted glass patterns
Before artwork is released to fabrication, confirm that:
- The pattern has been overlaid on plans, elevations, and the reflected ceiling plan.
- Standing and seated eye levels are marked on the elevation, and the privacy band is set from them.
- Furniture, equipment, and fixed elements in front of and behind the glass are shown.
- Handles, pulls, locks, patch fittings, and cutouts are located, with clear zones around them.
- The pattern is continuous or intentionally reset across adjacent panels, with horizontal lines tied to a single reference.
- Frame, gasket, and glazing pocket overlaps are accounted for, so the visible area is known.
- The finish has been reviewed under actual daylight and artificial lighting, from both sides.
- The design has been checked against adjacent materials using real samples.
- Applicable code and manifestation requirements have been confirmed.
Frequently asked questions
What is the difference between sandblasted and acid-etched glass?
Sandblasted glass is made by propelling abrasive material at the surface, which can produce anything from a light frost to deep carving. Acid-etched glass uses acid to create a smooth, uniform satin finish. Sandblasting allows more varied depth and detailed patterns, while acid etching is typically chosen for even, consistent coverage.
Does sandblasted glass provide complete privacy?
Not always. Privacy depends on how dense the pattern is and on the lighting. A frosted band can look opaque in daylight yet become more transparent when the lit side is inside and the viewer is outside. Test the design under the project’s real lighting conditions when privacy is critical.
Where should a sandblasted privacy band sit on a glass partition?
Set it across the zone between seated and standing eye level, roughly 1,200 mm to 1,500 mm (48 to 60 inches) above the finished floor. Adjust it for the furniture layout and the sightlines in the specific room, instead of centering it on the panel by default.
How do you stop a sandblasted pattern from clashing with door hardware?
Show handles, pulls, locks, and fittings on the drawing before positioning the pattern. Keep a clear zone around each, confirm the visible glass area after frames and gaskets, and check that the pattern band and handle height do not collide.
Do sandblasted glass surfaces show fingerprints?
They can show marks more readily than polished glass, particularly where hands touch repeatedly, such as around door pulls. Consider keeping heavily textured areas away from the touch zone, or choosing a pattern and finish that tolerate handling.
What should architects send a glass fabricator for a patterned scheme?
Send plans, elevations, door and hardware schedules, frame details, and lighting information so the artwork can be coordinated with the actual space. Share these early, because a pattern tested against real drawings is far easier to get right than one corrected after installation.
Conclusion
Sandblasted glass succeeds when it behaves like part of the building and not a decorative layer applied to it. Eye level, circulation, furniture, lighting, hardware, and neighboring finishes all influence what the pattern needs to do. Bring the glass into the coordination process early, and it will deliver privacy, light, and visual character where the space needs them.
If you are developing a sandblasted or etched glass scheme for an upcoming project, share your drawings with your fabricator early.