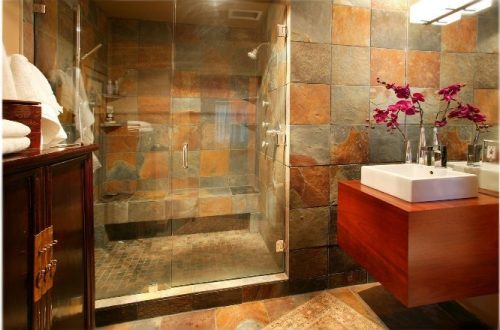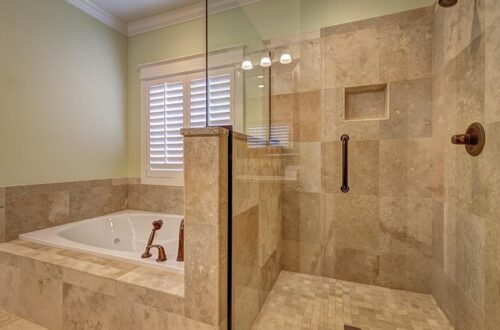
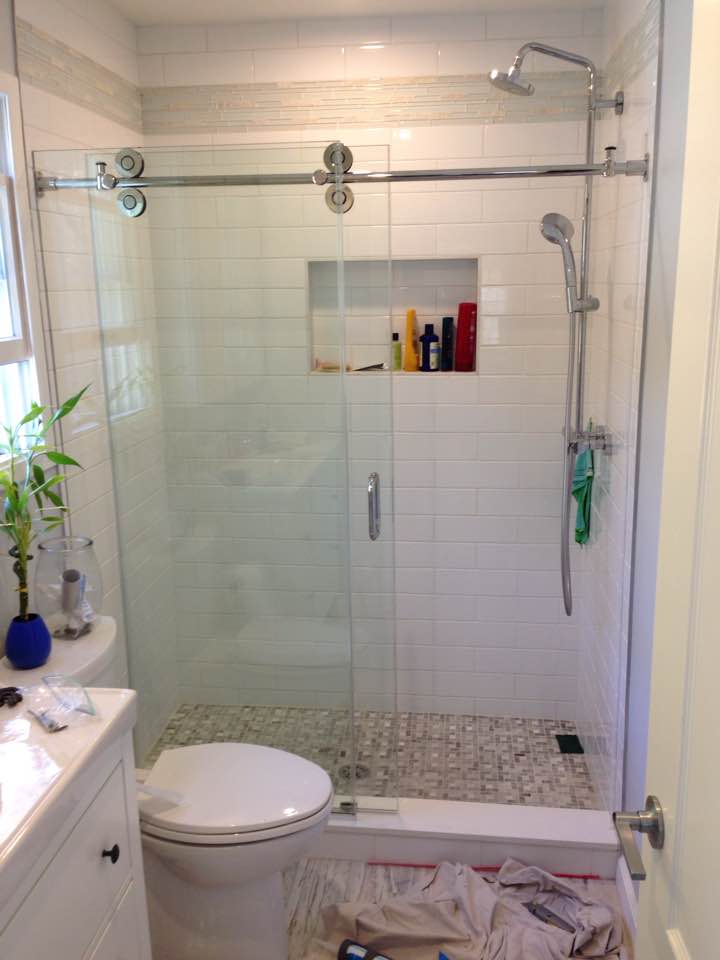
Choose a frameless shower configuration from the bathroom’s geometry and the user’s needs, not from appearance alone. A hinged door gives the best splash containment in a compact footprint. A walk-in screen gives the most open access but needs depth and careful showerhead placement. A fixed panel is the simplest, most stable option where a door swing or step-through opening is not required.
Key takeaways
- Decide the opening first: it controls circulation, splash behavior, and which hardware you need.
- A hinged door contains water best but needs clear swing space outside the enclosure.
- A walk-in screen removes the door, but depth, panel width, and showerhead position decide whether it stays dry.
- Place the showerhead on the wall or panel away from the opening, and aim the spray at the fixed glass.
- Check accessible-design requirements early. They set clear opening widths and floor conditions that affect every layout.
- Plan structural fixings against the real wall, not the drawing: out-of-plumb walls, tile thickness, and waterproofing all affect hardware placement.
What are the main frameless shower configurations?
There are three core layouts: a hinged door with a fixed panel, a fixed panel on its own, and a walk-in screen. Each is made from toughened safety glass, commonly 8 mm to 12 mm thick, and each can be combined with others in corner, alcove, or wet-room plans. The right choice depends on the room’s shape, door clearances, and how people will use it.
| Configuration | Best suited to | Splash containment | Access and circulation | Space needed | Fixing considerations |
|---|---|---|---|---|---|
| Hinged door with fixed panel | Alcoves, compact bathrooms, family use | Strongest, with sealed door edges | Defined opening; needs clear swing space outside | Door swing zone beyond the tray | Hinges carry the door load; wall or glass-mounted |
| Fixed panel (single or return) | Wet rooms, tray-to-wall layouts, side screens | Good on the covered side only | Open, no moving parts | Minimal | Wall channel or clamps plus floor support |
| Walk-in screen | Larger bathrooms, wet rooms, step-free layouts | Depends on depth, panel width, and head position | Widest and most continuous | Greater depth and floor area | Often needs a support bar or ceiling stay |
How do you choose between a swinging door and walk-in access?
Choose a swinging door when the bathroom is compact, when containment matters most, or when a closed enclosure is wanted for warmth. Choose walk-in access when the room has enough depth, when step-free movement is a priority, or when a minimal look is required. The deciding factors are door swing clearance, enclosure depth, and the drain and floor layout.
Door swing. A hinged frameless door needs unobstructed space where it opens. Check the swing against the vanity, toilet, towel rail, bathroom door, and any radiator. Outward-opening is the common arrangement, and inward-opening doors can be restricted in some jurisdictions, so confirm what applies. A door that swings 90 degrees may be enough; a door that swings 180 degrees can fold back against the screen and free up the opening.
Walk-in access. A walk-in screen has no door to collide with and no hinge to maintain, which suits step-free floors and wet rooms. The trade-off is that the opening stays permanently open, so the enclosure has to manage water through geometry alone.
Rules of thumb for planning:
- Overlay the door arc or the walk-in opening on the floor plan before choosing the layout.
- Confirm the clear opening at the widest and narrowest points, including the hardware.
- Consider how the opening relates to the bathroom door, so the entry sightline does not look straight into the shower.
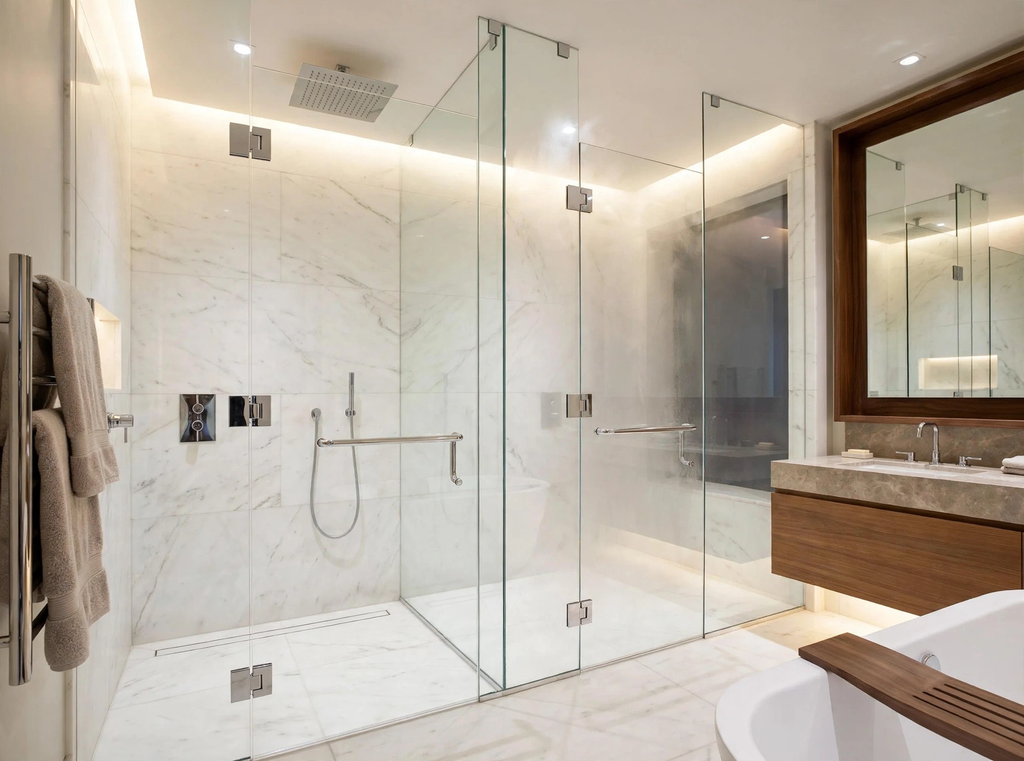
How do you control splashes and position the showerhead?
Control splashes by keeping the spray pointed at fixed glass or wall and away from the opening, and by giving the enclosure enough depth between the head and the exit. Door enclosures can use sealed edges to hold water in. Walk-in screens rely on panel width, depth, and head position, so the layout has to do the work.
Showerhead position by configuration
- Hinged door: mount the head on the wall or panel opposite or beside the door, so the main spray does not hit the door seal directly. Use door seals or a sweep along the bottom and side edges.
- Walk-in screen: place the head on the wall behind or beside the fixed glass, angled toward the drain. Keep the opening on the dry side, away from the spray path.
- Fixed panel: use the panel as the splash barrier on the exposed side, and check that the open side has a landing zone or a drained floor.
Planning factors that affect splash
- Panel width. Wider walk-in panels, commonly in the range of about 900 mm to 1,200 mm (35 to 47 inches), shield more of the spray, but the right width depends on the head type and enclosure depth. Manufacturers often publish minimum dimensions for walk-in screens, so check them.
- Head type. A fixed overhead rain head throws water in a wider pattern than a handheld or wall-mounted head. Larger heads need deeper enclosures.
- Floor fall. Drain location and floor gradient move water away from the opening. A drain near the opening works against a walk-in layout.
- Ventilation and humidity. Open layouts let steam spread through the room, so ventilation capacity should reflect the choice.
How do accessibility, circulation, and usable space affect the layout?
Accessibility, circulation, and usable space determine how wide the opening must be, whether a threshold is acceptable, and how much room is left around the enclosure. Walk-in and step-free layouts usually suit accessible design best. Door-based enclosures can still work if the clear opening, floor condition, and hardware meet the applicable standard.
Accessible requirements vary by jurisdiction and project type, so confirm the standard that applies, for example the ADA in the United States, before fixing the layout. In general, check these points:
- Clear opening width. Measure from hardware to hardware, not glass to glass. Handles, hinges, and pivot points reduce the usable width.
- Threshold and floor. A level, step-free entry affects tray or wet-room design, drainage, and waterproofing.
- Turning and transfer space. Plan the room around the user’s movement, including space for a seat, grab bars, and an assistant where relevant.
- Reach and controls. Mount controls where they can be reached from the entry or seat, and away from the spray zone.
- Door operation. Hinged doors need to be light to open, with handles that are easy to grip. Consider whether a door adds a barrier for some users.
Circulation and usable space. The enclosure should not trap the user or take over the room. Check door arcs, towel positions, and the route from the vanity to the shower. In small bathrooms, a hinged door with a fixed panel often uses less floor area than a wide walk-in layout, while in larger rooms a walk-in reads as open and generous.
What structural fixing options and hardware placement should you plan for?
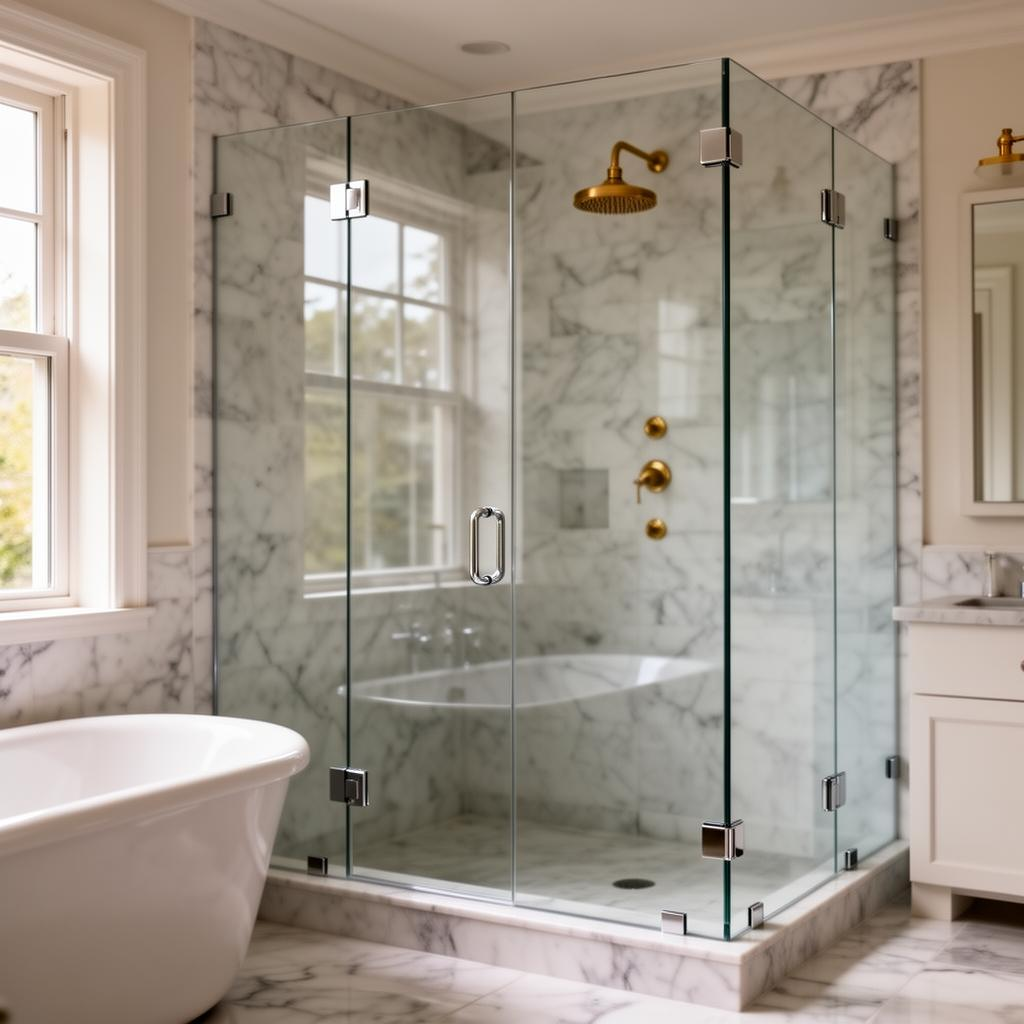
Frameless glass is fixed with hinges, clamps, brackets, wall channels, and support bars, and each loads the wall or floor differently. Plan the fixing from the real wall conditions: plumb, tile depth, substrate, and waterproofing. Hardware should be positioned before tiling and waterproofing are finished, so fixings do not compromise the wet area.
Common fixing methods
- Wall-mounted hinges: carry the door’s weight into the wall. Fixings must reach solid backing, such as a stud or masonry, rather than tile and board alone.
- Glass-to-glass hinges and clamps: connect a door to a fixed panel, which transfers load into the panel and its own fixings.
- Wall channels (U-channels): hold the edge of a panel along a wall. They allow some adjustment, but still need a reasonably true wall.
- Floor channels or clamps: fix the panel at the base. Channels support the panel continuously, while clamps give a more minimal look and need careful positioning.
- Support bars and ceiling stays: brace a free-standing walk-in panel against sway. A support bar to the wall or ceiling stiffens the screen and reduces movement.
Hardware placement
- Coordinate before waterproofing. Locate drilled fixings so penetrations through the membrane are planned and sealed correctly.
- Allow for tile thickness and out-of-plumb walls. Measure on site and agree tolerances with the glazier, because frameless glass has little room to hide error.
- Check hinge and handle positions. Hinges should sit where they do not clash with tile joints, niches, or the showerhead plumbing.
- Keep weight paths short and solid. A heavy door on hinges placed too close to the glass edge or into weak backing risks sag over time.
- Confirm the glass standard. Use toughened safety glass certified to the applicable standard, such as ANSI Z97.1 or CPSC 16 CFR 1201 in the United States, or the relevant European standard where applicable.
- Plan for sealing and drainage. Seals, sweeps, and silicone joints need a clear path for water, and the tray or floor falls should work with the chosen glass line.
Pre-specification checklist
Before the configuration is fixed, confirm that:
- The door arc or walk-in opening is overlaid on the floor plan and clear of fittings.
- The showerhead position is set, with the spray directed away from the opening.
- Enclosure depth and panel width suit the head type and drain location.
- The clear opening meets the applicable accessibility standard.
- The floor condition (tray, curb, or step-free) is coordinated with the enclosure type.
- Fixing points have solid backing and are coordinated with waterproofing and tiling.
- The glass is toughened safety glazing to the relevant standard, with thickness suited to panel size.
- Seals, support bars, and hardware finishes are specified and matched to the bathroom’s other metalwork.
- Site measurements are taken after tiling, not from drawings alone.
Frequently asked questions
Which frameless shower configuration is best for a small bathroom?
A hinged door with a fixed panel is usually the most space-efficient for a small bathroom, because it keeps water contained within a compact footprint. A fixed panel alone can also work in tray-to-wall layouts. Check the door swing against the toilet, vanity, and bathroom door before committing.
Do walk-in showers splash water outside the enclosure?
They can, if the enclosure is too shallow, the panel is too narrow, or the showerhead points toward the opening. Splash control depends on depth, panel width, head type, and drain position. Deeper layouts with the head placed away from the opening perform best.
Is a walk-in screen better for accessibility?
Often, because it removes the door and allows a step-free, continuous opening. Accessibility still depends on the clear opening width, floor condition, controls, and transfer space. Confirm the requirements of the applicable standard, such as the ADA in the United States.
What glass thickness is used for frameless shower enclosures?
Frameless enclosures commonly use toughened safety glass between about 8 mm and 12 mm thick. Door glass and large panels generally call for heavier glass, and the choice depends on panel size, hardware, and the manufacturer’s limits.
Do walk-in panels need a support bar?
Often, yes. A free-standing walk-in panel can sway without extra support, so a wall or ceiling support bar is commonly used to stiffen it. Whether one is required depends on panel height, width, glass thickness, and the manufacturer’s guidance.
When should fixing points be coordinated with the tiler and waterproofer?
Before tiling and waterproofing are finished. Hinge, clamp, and channel fixings often penetrate wall finishes, so their locations, backing, and sealing details need to be agreed early to protect the wet area.
Conclusion
A frameless shower works when the configuration matches the room. Door swing, splash behavior, accessibility, and structural fixing each favor a different layout, so there is rarely a universal best choice. Compare the options on the plan, set the opening and showerhead position together, and coordinate the fixings with the wall build-up. Doing this at the design stage avoids the leaks, collisions, and site adjustments that frameless glass can’t easily absorb.
If you are planning a frameless shower for an upcoming project, share the bathroom plan, wall construction, and accessibility requirements with your glass supplier early, so the layout and hardware can be confirmed against real conditions.